Spending $1,500 on an espresso machine and then tamping with the plastic puck that came in the box is the most common — and most expensive — mistake in home espresso. The machine is only the engine. The actual quality of every shot you pull comes from the small tools you use before the water hits the puck.
Here are the seven tools that take a home setup from "decent" to "indistinguishable from a third-wave café," in the order we'd buy them.
1. A precision scale with a built-in timer
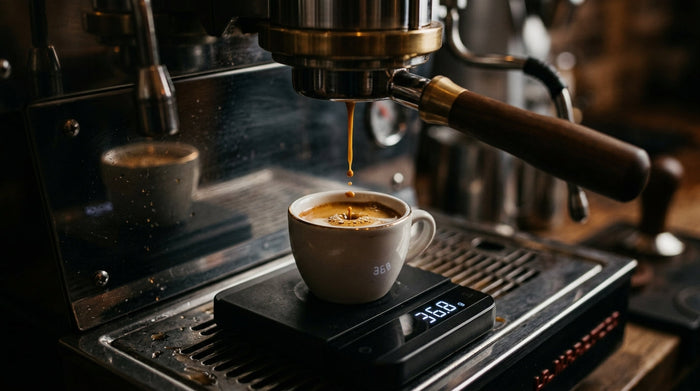
If you only buy one tool from this list, buy this. Espresso is a ratio game: typically 1:2 (18g of grounds yields 36g of espresso) over 25–30 seconds. Without a scale, you're guessing on both inputs. With a scale, you can repeat your best shot tomorrow morning instead of randomly stumbling into it.
- What to look for: 0.1g accuracy, at least 2000g capacity, USB-rechargeable (no batteries to replace), built-in countdown timer.
- Why timer-on-scale matters: you need to track both weight and time simultaneously. Pulling out your phone for the timer is friction that breaks your workflow.
- Footprint: small enough to fit on the drip tray under your portafilter spout.
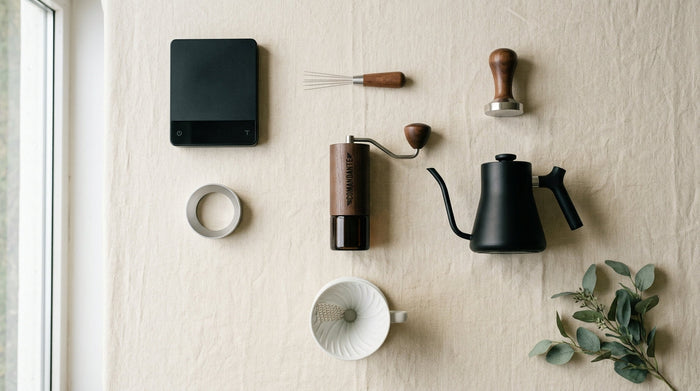
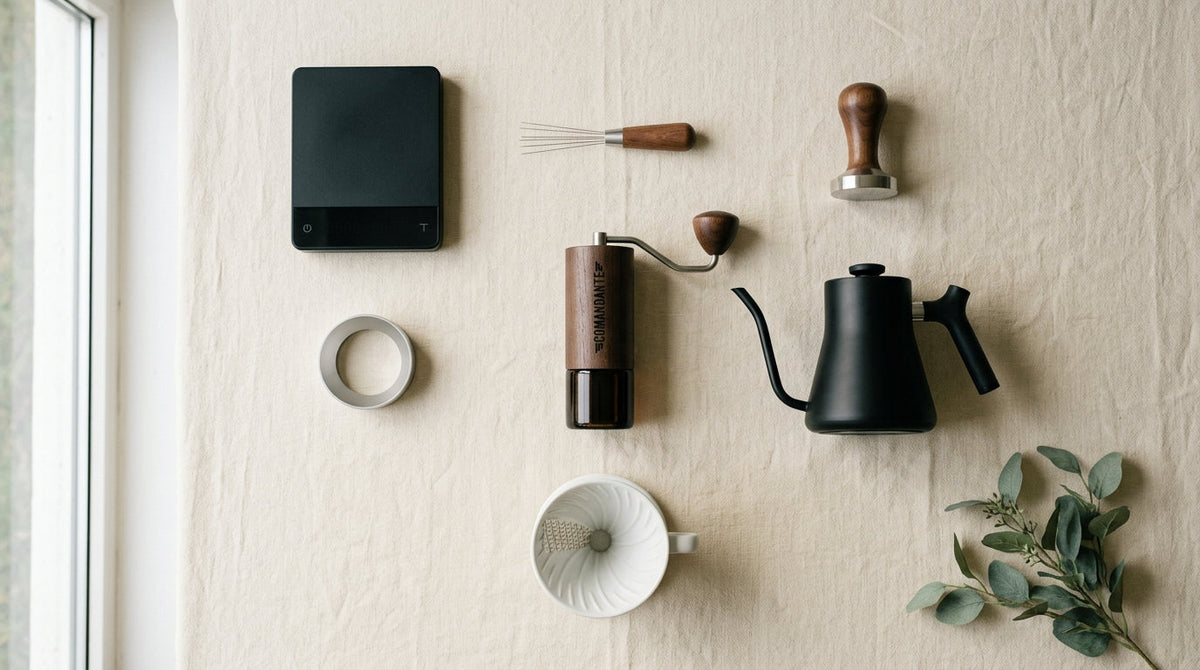
Our pick: Precision Coffee Scale with Timer. 0.1g accuracy, 2000g capacity, USB rechargeable, available in Black or White to match any kitchen.
2. A WDT distribution tool
Right after grinding, your coffee bed has clumps and uneven density. If you tamp those clumps as-is, water finds the path of least resistance and channels through the loose spots — producing sour, uneven shots no matter how perfect everything else is.
The fix is the Weiss Distribution Technique (WDT): inserting a fine needle into the grounds and stirring to break up clumps before tamping. It takes 10 seconds and may be the single biggest improvement you can make to a home espresso shot.
- What to look for: 0.35mm or thinner stainless steel needles, weighted handle for stability, magnetic stand so you can park it next to your machine.
- How to use: dose into your portafilter, insert the needles to the bottom of the grounds, swirl in a slow figure-8 motion 10–12 times.
Our pick: WDT Needle Tool. 0.35mm 304 stainless needles, weighted handle, magnetic stand included.
3. A calibrated tamper sized for your portafilter
The third leg of the puck-prep tripod. After you've dosed correctly and distributed evenly, you need to tamp with consistent, level pressure. The tamper that came with your machine is almost always too light, often the wrong size, and gives you no feedback on how hard you pressed.
- Size your tamper to your basket — 51mm, 53mm, or 58mm depending on your machine. (See our tamper size guide if you're not sure.)
- Calibrated tampers click at the correct pressure or have self-leveling bases that auto-correct angle. This removes pressure variability as a shot-to-shot variable.
- Material: stainless steel base for weight, wood or carbon-fiber-textured handle for grip.
Our pick: Self-Leveling Tamper. Available in 51mm, 53mm, and 58.35mm; auto-corrects for angle, and the 428g weight does the work for you.
4. A burr grinder (manual or electric)
Pre-ground coffee loses 60% of its volatile aromatics within 15 minutes of grinding. By the time grocery-store pre-ground gets to your kitchen, you're brewing flat, dusty old coffee — no espresso machine on earth can rescue it.
For espresso, you need a burr grinder (not a blade grinder), and the burrs need to adjust fine enough to choke the machine. For pour-over and French press, the bar is lower — most decent manual grinders work.
- For pour-over and French press only: manual ceramic burr grinders work great, are quiet, and cost $40–60.
- For espresso: you need stepless adjustment and steel burrs. Budget $200+ for an entry-level espresso-capable electric grinder.
- Beware: "espresso-grade" claims on $50 grinders almost always mean "the burrs can go fine, but they're not consistent enough to actually pull a shot."
Our pick for non-espresso brewing: Ceramic Burr Manual Grinder. Adjustable from espresso-fine to French-press coarse, food-grade stainless steel body, and quiet enough to grind at 6 AM without waking the household.
5. A dosing ring (anti-fly funnel)
Less critical than #1–4, but quality-of-life-wise this is the tool that makes your morning faster. A dosing ring magnetically snaps onto your portafilter and keeps grounds from scattering during distribution. No more brushing the counter every shot.
- What to look for: strong magnetic hold (so it doesn't slip when you grind into it), aluminum body (light), the right diameter for your portafilter.
- Bonus: some dosing rings include height extensions so you can dose 22g into an 18g basket without spilling — useful for triple-shot drinkers.
Combined with WDT, a dosing ring keeps your puck prep tidy and consistent.
6. A puck screen (under-puck filter)
A puck screen is a thin disc of mesh that sits on top of your tamped puck. Two functions: it disperses the water more evenly across the puck (reducing channeling further) and keeps your group head cleaner because grounds don't stick to it.
- What to look for: stainless steel, 1.5–2mm thick, 150–200 micron mesh.
- Honestly: the shot improvement is marginal. The cleaner group head is the real benefit — saves you a backflush every couple weeks.
This is a "if you've got everything else dialed in" tool, not a starter purchase.
7. A bottomless (naked) portafilter
The single best diagnostic tool for espresso. With a bottomless portafilter, you can see what's happening to your puck during extraction — whether it's pulling evenly, channeling at the edges, or spritzing wildly. You'll fix problems you didn't even know you had.
- For Breville: swap to a 54mm bottomless portafilter (third-party, $30–50).
- For 58mm machines: bottomless portafilters are widely available; some come stock on prosumer machines.
- What you'll see: a perfect shot pulls in a single steady stream from the center of the basket. If you see multiple streams, sprays, or "blonding" too early, your puck prep needs work.
The buying order — most to least impactful
If you're starting from a stock setup, here's the order to spend money in:
- Scale with timer ($30–60) — biggest single improvement to repeatability.
- WDT tool ($30–50) — fixes channeling, the #1 espresso problem.
- Calibrated tamper ($40–80) — removes pressure variance as a variable.
- Quality grinder ($200+ for espresso, $40+ for pour-over) — biggest impact on flavor, but biggest spend.
- Dosing ring ($15–25) — quality of life, faster mornings.
- Bottomless portafilter ($30–50) — diagnostic; buy after you've got everything else.
- Puck screen ($10–20) — last priority; nice to have.
Bundle savings: If you're starting from scratch, buying tools 1–3 together (scale + WDT + tamper) costs around $130 and covers 80% of the espresso quality variables. That's where to start.
What you don't need (yet)
The internet will sell you a lot of accessories that look essential but aren't:
- Knock box — a coffee-grounds-disposal container. Useful but a small bowl works fine.
- Group head brush — comes with most prosumer machines; you don't need a fancy one.
- Steaming pitcher — only if you're making milk drinks, and the one that came with your machine is fine to start.
- Refractometer — measures total dissolved solids in your shot. Genuinely useful for the obsessed; overkill for 99% of home setups.
- Espresso "leveler" (the spinning disc) — does distribution, not leveling. Often replaces WDT for less effective results. WDT first, leveler optional.
The compounding effect
None of these tools individually transforms your coffee. But each one removes a variable, and the variables compound. A scale tells you that you used 18g. WDT means those 18g are evenly distributed. The calibrated tamper means they're compressed at consistent pressure. By the time water hits the puck, you've controlled every variable upstream — and shot-to-shot consistency is what actually separates a good cup from a great one.
Start with #1, add #2 a month later, then #3. By the time you've worked through five of these, the morning ritual takes the same time but produces a noticeably better cup. That's the goal: not exotic equipment, just removing the guesswork from the workflow you do every day.